
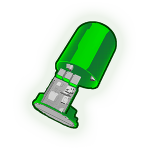
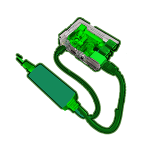


The Digital Marker is a combination of elements, to be customised and configured to suit each location.
A network publishing toolkit installed on a Raspberry Pi running DietPi OS provides the customisable wireless hotspot and WordPress platform for this guide and Digital Marker engine. It’s ready to host collections of community media, uploaded and annotated during public workshops and grow to accommodate new material as it is generated.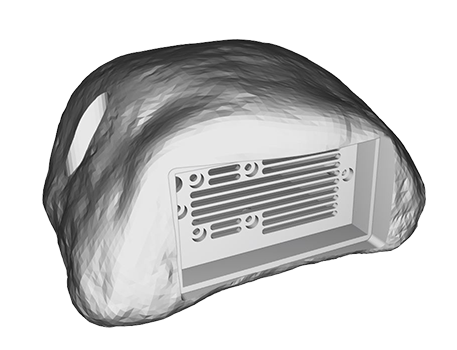
The basic case design can be customised and embellished in tune with the installation conditions. Please see the illustrations of carved, printed and tagged examples in the tabs above.
3D models of the basic case are provided for those seeking a quick start and will need to printed and prepared for installation.
This is the basic weather-proof case design to contain the Raspberry Pi used for the Digital Marker.
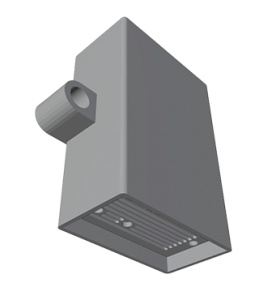 It features a removable tray with ventilated access panel and a mount point for a small fan to assist airflow. The vent points downward and the body of the case protects the computer hardware from wet weather so it can safely be installed outside.
It’s free to use the model that has been prepared for 3D printing (ABS) and ready to be customised using a free 3d modelling application like Blender.
Download this Blender ready Basic Rpi3/4 case design and the slide-in tray.

 There are many options for customisation of the case. Here are several illustrations of the basic case, fitted into ‘carved’ objects as examples but it may be as easy to affix objects to the box or attach it to an existing structure.
Please share any examples or ideas you have tried out!
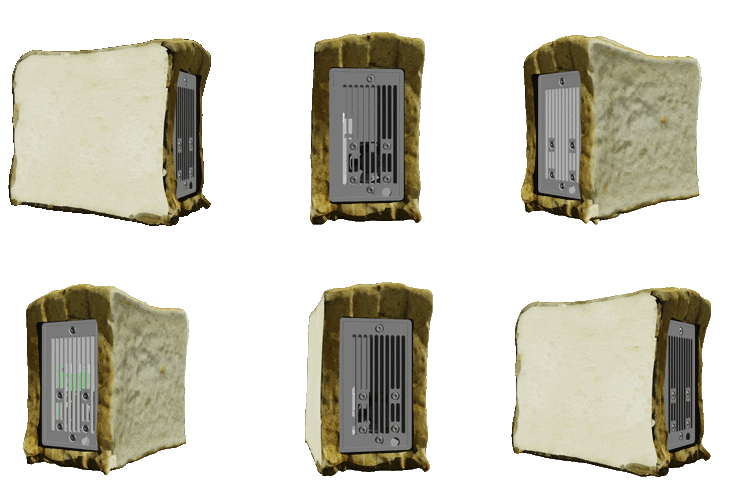
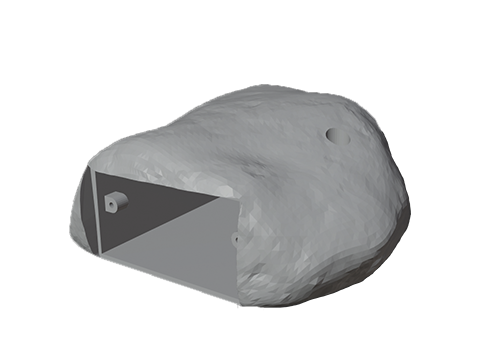 This is the Crumbles Castle case in the shape of a brick from the old tenements resembling those the castle was built with 50 years ago.
It’s been printed in translucent material with a 3D printer so it can be illuminated from within by LED lights. Prepared holes in the model provide mounting point options so that it can be fixed to a wall with the vent pointing toward the ground.
Download the Blender ready Crumbles Pi3 case 3D file or the Basic Pi3 case here
Alternatively, follow these production guidelines to customise the basic 3D case into your design.

Import your 3d model into the Blender case template file

Position your model to the insect with the Case shell. The solid end of the case should be intersecting the imported model.

Apply an intersect bool with the Case bool object. Select the imported model and add the bool modifier. In the bool, modifier interface select difference operation and the Case bool object.

Refine the position of the imported model. The case should be fully inside the model. Check the case shell is not protruding through the imported model from all angles. Ideally, the case model should be inset enough to have a lip to help protect from the elements.
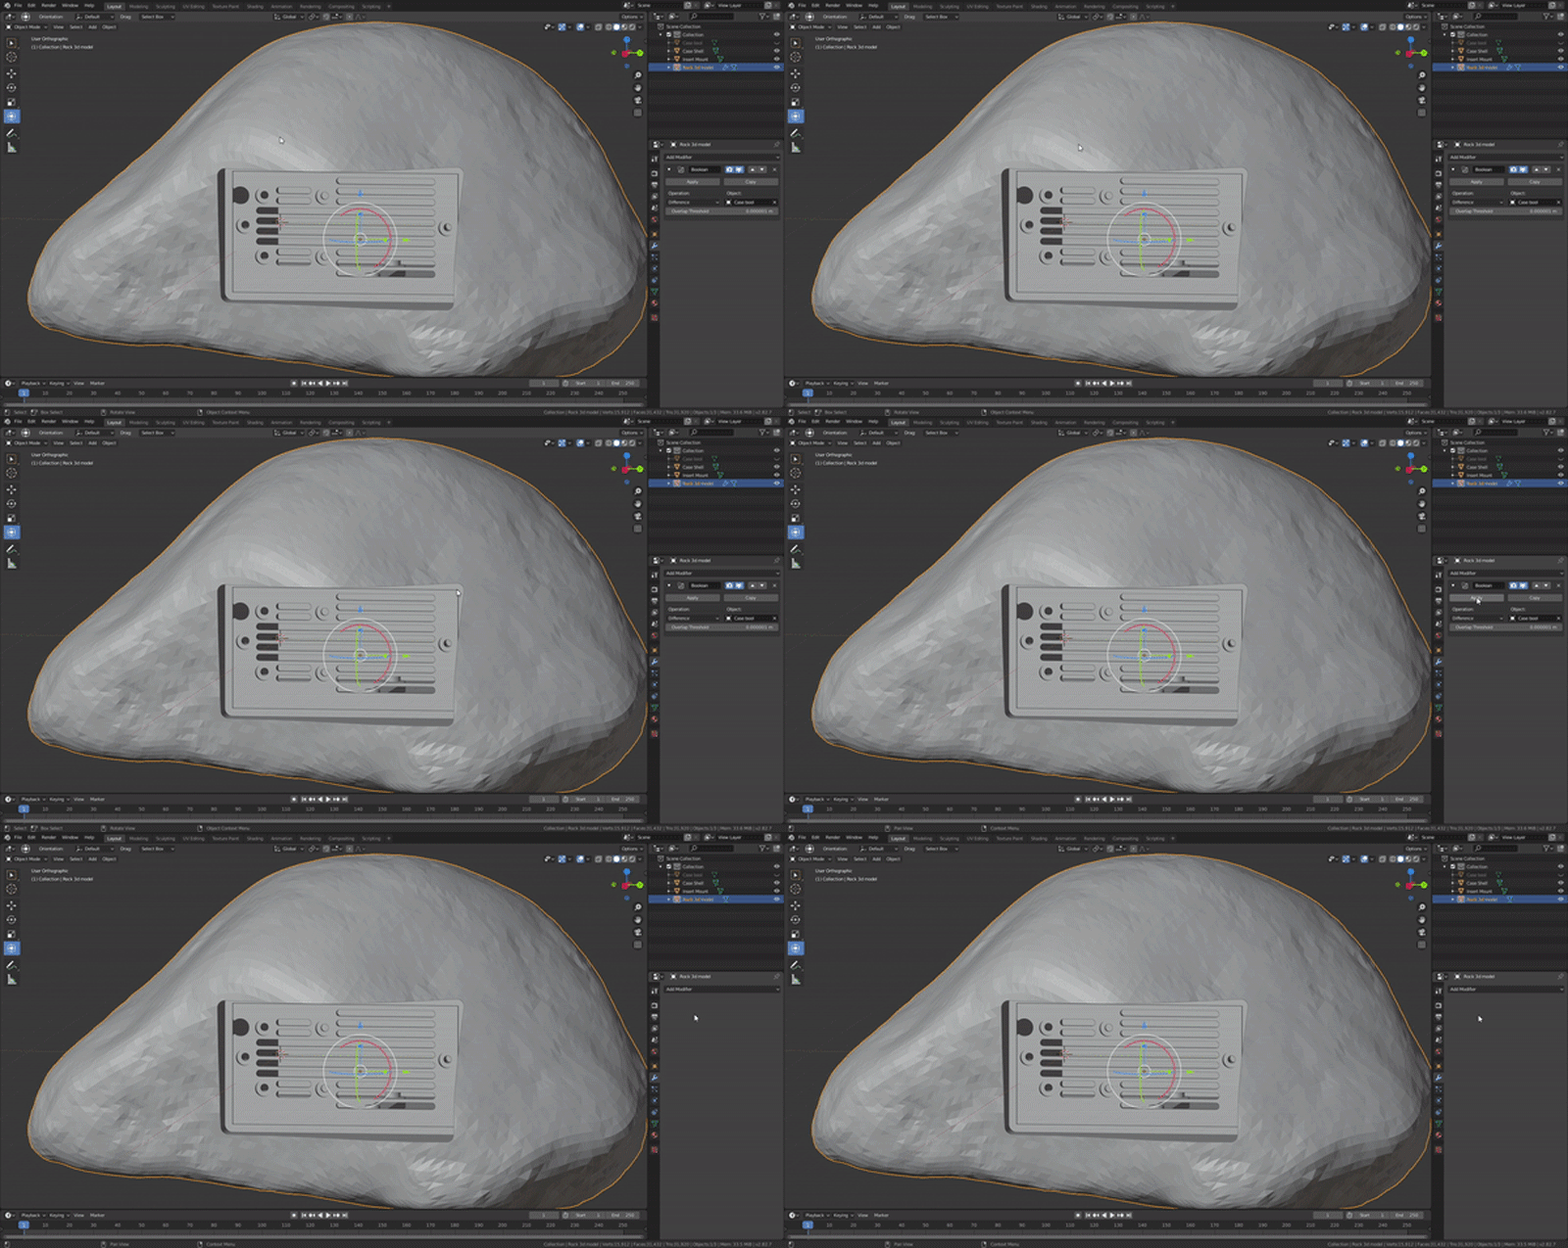
Apply the difference operation bool to the imported object.
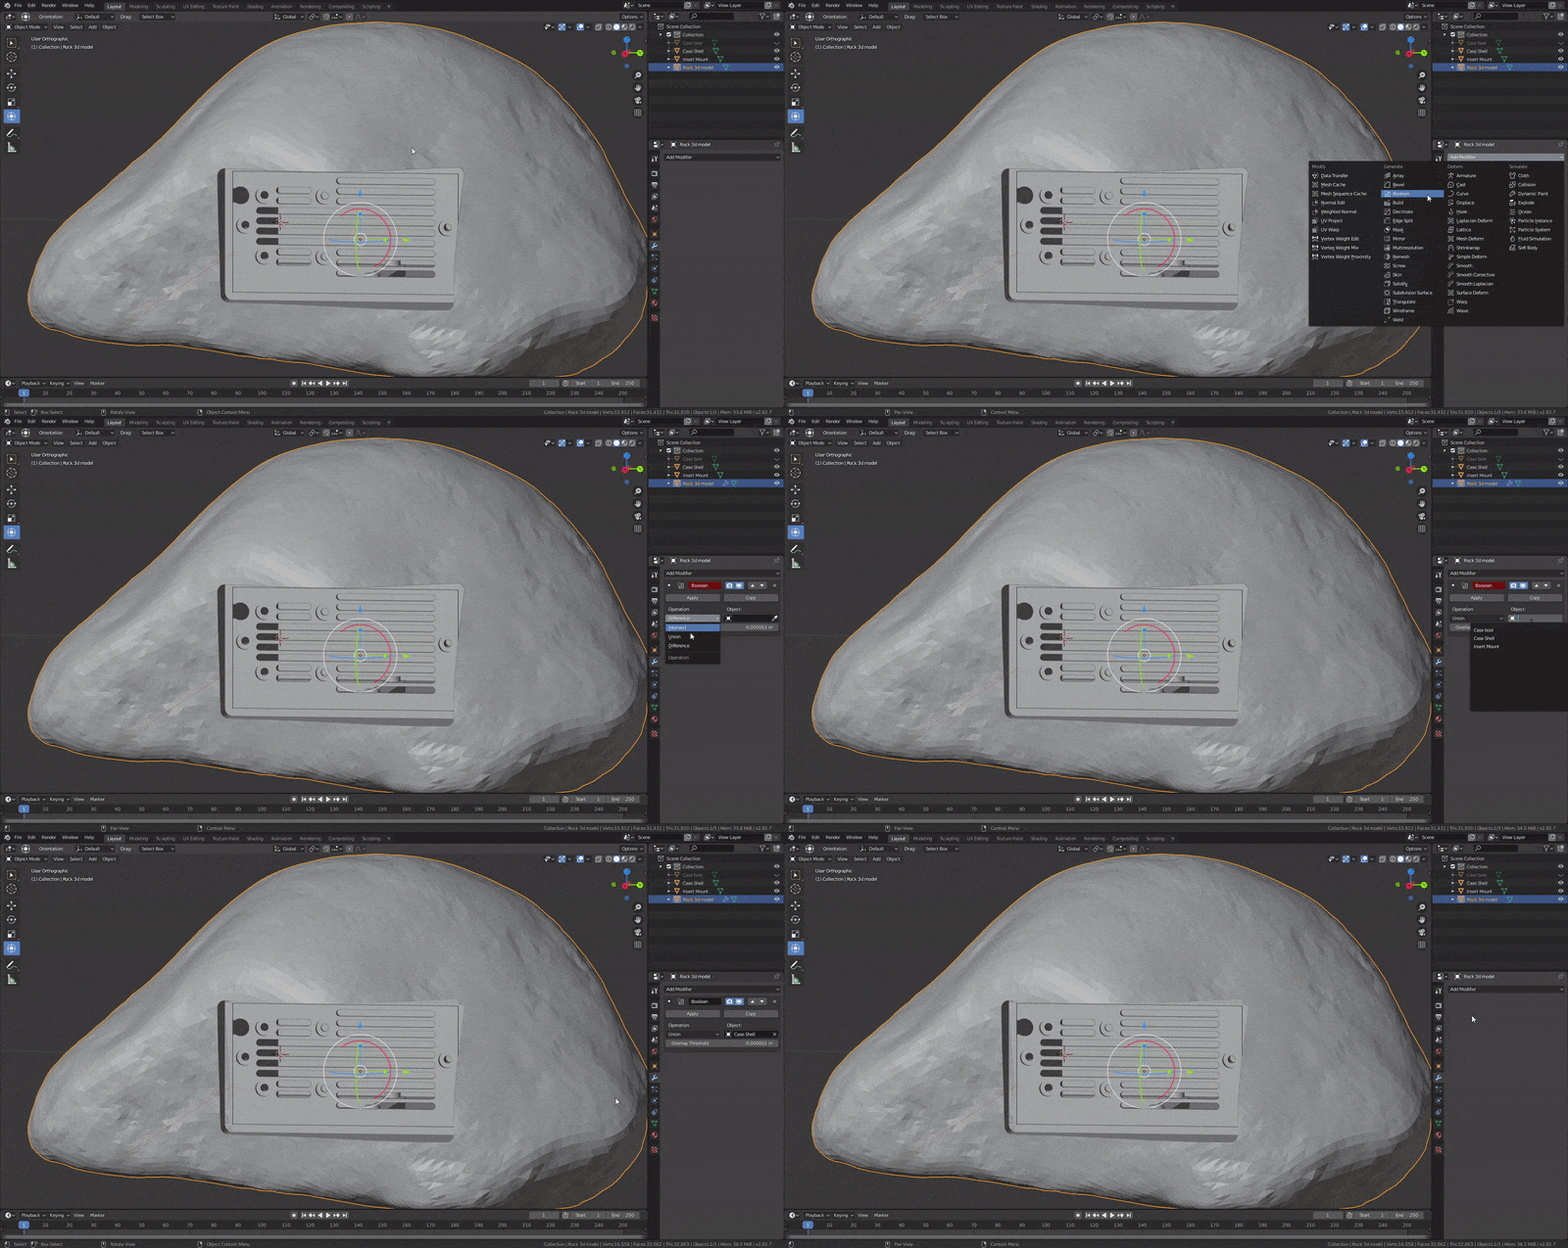
Add bool modifier to the imported model with union operation using the case shell model.
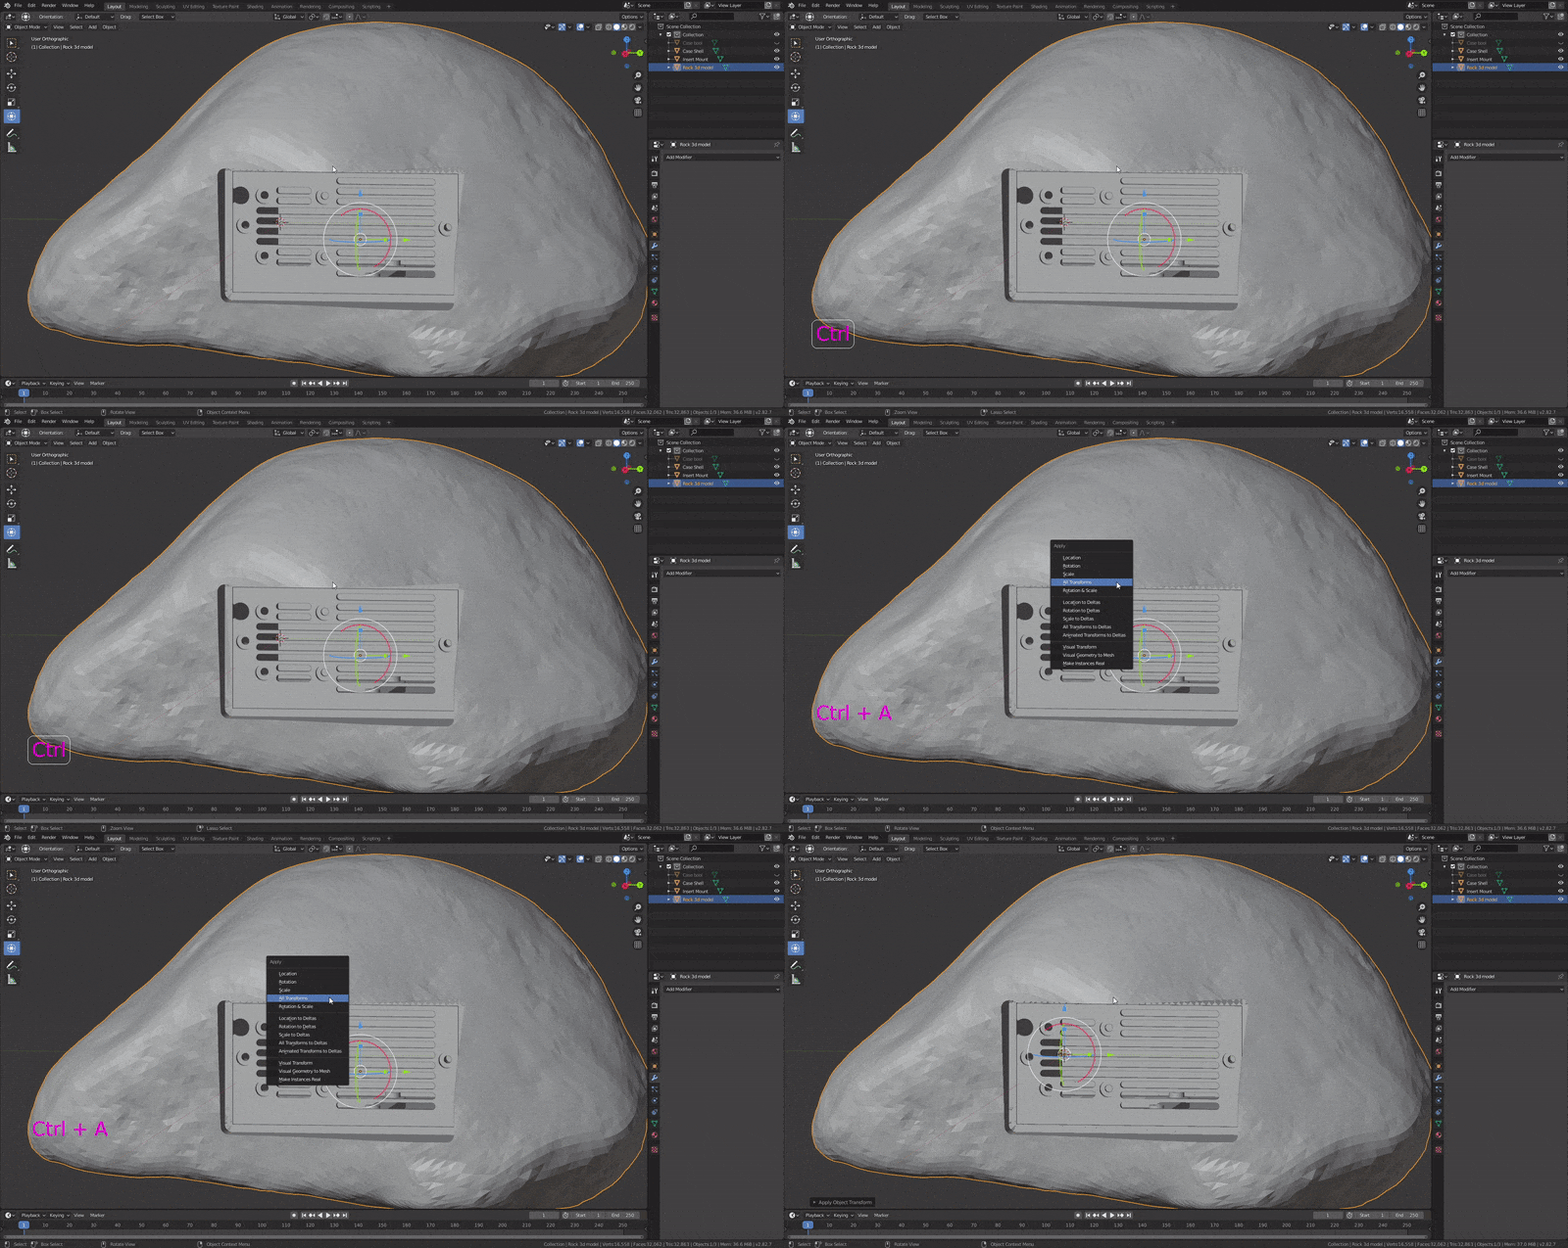
Apply transformations to imported object.

Export model as stl.
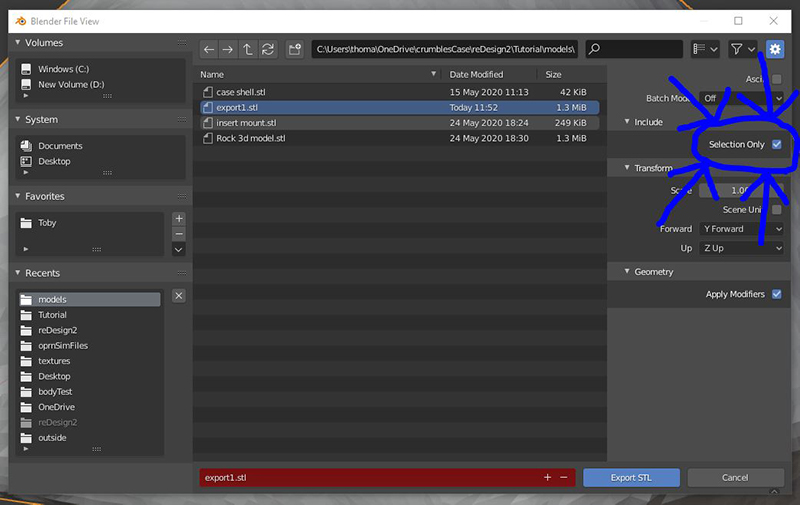
Apply selection only when in the export interface.

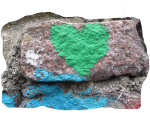 It’s just as likely you will want to customise the appearance of your case just as many have decorated these bricks in the wall of the castle.
3D print materials take paint very well.
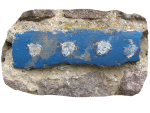
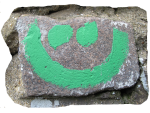
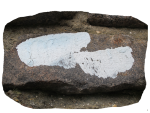
It’s also possible to embellish your model with textures and carved or sculpted forms all of which will add to the individuality and uniqueness of your Digital Marker.
